How to Choose an Escalator Handrail: A Complete Buying Guide
This buying guide explains the information you should collect before ordering an escalator handrail. It also covers materials, internal structure, common profiles, measurement, splicing, installation, cleaning, and supplier evaluation. Use the selection checklist below to reduce compatibility problems before placing an order.

How to Choose the Right Escalator Handrail
The safest way to select a replacement is to check the technical details in the correct order. Do not order by brand name, color, or total length alone.
1. Confirm the Escalator Brand and Model
Start with the nameplate or maintenance record. Record the escalator brand, model, serial number, and installation year if available. This information helps narrow down the possible handrail profiles, but it is not enough for final confirmation. The same brand may use different profiles on different escalator models.
2. Identify the Existing Handrail Profile
Check the model marking on the old belt if it is still readable. Common profiles include SDS, SWE, OTIS-800, J type, and STD. If there is no marking, photograph the cross-section and measure its key dimensions. The shape of the lips, inner opening, and outer edge must match the guide system.
Do not select a replacement only because it looks similar. A small difference in the cross-section can cause poor tracking, slipping, noise, or excessive friction.
3. Measure the Complete Loop Length
Measure the complete closed-loop length using the section method described later in this guide. Record every section and add the measurements together. Do not estimate the length from the escalator rise or step count.
Because an old belt can stretch or deform during service, the measured length should be checked together with the escalator model and tension adjustment range.
4. Match the Original Material and Sliding Layer
Confirm whether the existing product is rubber or polyurethane. Unless a technical review supports a change, matching the original escalator handrail material is usually the simplest option.
Also check the inner sliding layer. Nylon fabric, canvas, and polyester staple fiber have different surface characteristics and are not selected by appearance alone. The sliding layer must suit the guide and drive arrangement.
5. Confirm the Operating Environment
Tell the supplier whether the escalator operates indoors, outdoors, or in a partly exposed area. Outdoor units need a cover compound suitable for sunlight, temperature changes, ozone, and moisture. Passenger traffic, operating hours, and required color can also affect product selection.
6. Confirm the Joint and Delivery Form
State whether you need a finished endless loop or a handrail prepared for on-site escalator handrail splicing. If possible, send a clear photo of the existing joint. The joint construction must match the belt profile, material, length, and installation method.
7. Review the Supplier's Drawing Before Production
Before confirming the order, compare the supplier's cross-section drawing with the old belt measurements. Check the model, dimensions, length, material, color, sliding layer, joint type, quantity, and application environment on the order document. Production should begin only after these details are confirmed.
Quick Purchase Checklist
Before requesting a quotation, prepare:
- Escalator brand, model, and serial number if available
- Handrail profile or existing model marking
- Cross-section measurements
- Complete loop length
- Photos of the outer surface, inner surface, cross-section, and joint
- Rubber or polyurethane requirement
- Indoor, outdoor, or partly exposed application
- Required color and quantity
- Finished loop or on-site splicing requirement
If you cannot identify every item, send POTENSI the available information first. Our team can review the photos and measurements, identify missing details, and help you confirm a suitable specification before quotation.
How Does an Escalator Handrail Work?
An escalator handrail belt is a continuous closed loop. It runs in the same direction as the steps and provides moving support for passengers.
A drive wheel transfers force to the escalator handrail through friction. Depending on the escalator design, the system may use a large or small friction wheel, a head or middle drive, and either roller-group or belt-type pressure. These arrangements affect drive capacity, space requirements, surface wear, and maintenance access.
Escalator handrail speed must remain synchronized with step speed. A clear speed difference can affect passenger balance and may indicate slipping, incorrect tension, or worn drive parts. If this occurs, the maintenance team should inspect the drive and guide system instead of simply increasing the tension.

Escalator Handrail Material: Rubber or Polyurethane
The two main escalator handrail material options are rubber and polyurethane. The right escalator handrail material depends on the original specification, operating environment, and required finish.
Rubber Handrails
An escalator rubber handrail is usually made mainly from styrene-butadiene rubber (SBR). It is flexible, easy to process, and suitable for many standard indoor and outdoor applications. Rubber models are available in common profiles and several colors.
Polyurethane Handrails
A polyurethane escalator handrail uses thermoplastic polyurethane (TPU). It normally has a smooth, bright surface and good resistance to wear. A PU escalator handrail is often selected for locations where appearance and easy surface care are important.
Colored handrails may use chlorosulfonated polyethylene (CSM) in the cover layer because it has good resistance to sunlight, ozone, and oxidation. Outdoor models also use a cover compound designed for outdoor conditions. Before ordering, confirm whether the escalator is installed indoors, outdoors, or in a partly exposed area.
Need help choosing between rubber and polyurethane? Send POTENSI the escalator brand, model, installation environment, and required color. Our team can help you compare suitable options.

Escalator Handrail Structure and Parts
An escalator handrail contains several functional layers. The exact design varies by model, but the main escalator handrail parts usually include:
- Cover layer: The outer surface held by passengers. It provides grip and protects the internal structure.
- Reinforcement fabric: Rubber-bonded woven fabric helps carry the load and control stretching.
- Steel wire cord: The main strength layer helps the handrail keep its length and shape during operation.
- Sliding layer: The inner surface runs along the guide. Common options include nylon fabric, canvas, and polyester staple fiber.
The sliding layer must match the escalator design. Nylon fabric is dense and commonly used on some Schindler- and Otis-type applications. Canvas is used on several Hitachi-, Mitsubishi-, and KONE-type applications. Polyester staple fiber is commonly used in polyurethane handrails.
Two products may look similar from the outside but use different reinforcement and sliding materials. For this reason, buyers should not select an escalator handrail by color and length alone.

Common Escalator Handrail Dimensions and Profiles
Escalator handrail dimensions are not universal. The correct escalator handrail profile must fit the balustrade guide and drive system. Common profiles include:
- SDS: A common profile for many Chinese escalator brands and some Schindler- and Toshiba-type applications. Its outer edges are more angular.
- SWE: Used on some older Schindler-type units and other older installations.
- OTIS-800: Used on some Otis-, Sigma-, and TK Elevator-type applications.
- J type: Common on Mitsubishi and Shanghai Mitsubishi escalators. Versions may use steel wire or steel plate reinforcement.
- STD: Used on some Fujitec-type applications. Its outer edge is more rounded than the SDS profile.
These compatibility notes are general references, not final selection rules. Models can differ within the same brand. Always compare the old handrail profile and measurements with the supplier's dimension drawing before production.
Escalator handrail height is different from handrail profile size. It refers to the vertical position of the top of the handrail above the step nose. The balustrade determines this height, so replacing the belt does not change it. Installation requirements should be checked against the applicable escalator standard and local code.
If the original model number is unavailable, send POTENSI clear photos of the cross-section and inner surface together with the measured dimensions. An old handrail may deform slightly after long use, so final model confirmation is necessary before an order is placed.

How to Measure an Escalator Handrail
Because an escalator handrail is a closed loop, it cannot be measured from one open end to the other. Measure the escalator handrail in sections:
- Stop the escalator and follow the site's lockout and safety procedure.
- Mark point A on a straight section of the handrail.
- Mark point B at the end of that straight section and measure the distance from A to B.
- Move the escalator only under controlled maintenance conditions until the next section can be measured.
- Repeat the process until point A returns to the starting position.
- Add all measured sections to obtain the total loop length.
Do not stretch the handrail while measuring. Record the measurement method and each section value so the result can be checked. In addition to the total length, provide the profile dimensions, brand, model, material, color, quantity, and joint requirement.

Escalator Handrail Splicing and Joint Quality
Escalator handrail splicing joins the two prepared ends to form a continuous loop. The process normally uses heat, pressure, and a controlled joining procedure. Correct alignment is important because a poor joint can cause vibration, noise, uneven running, or early failure.
A dedicated escalator handrail tool holds and aligns the joint during splicing. The correct equipment, temperature, pressure, and curing time depend on the handrail construction. Splicing should therefore be carried out by trained technicians or completed by the supplier before delivery.
Joint construction may vary according to the handrail model and length. Buyers should confirm whether the product will be delivered as a finished loop or prepared for on-site splicing. The final joint should be checked for alignment, surface quality, and strength.
Installation and Adjustment
Before installing a new escalator handrail, identify why the old escalator handrail failed. Inspect the return wheel group, support rollers, guide rollers, tension rollers, drive wheel, and guide track. A worn or damaged component can quickly damage a new belt.
Follow these general steps:
- Open the packaging carefully and avoid cutting the handrail surface.
- Straighten the coiled belt near the escalator to reduce dragging and surface damage.
- Fit the belt onto the guide and drive system according to the escalator maintenance instructions.
- Adjust the tension to the specified range.
- Remove the surface protection only after the handrail is correctly installed.
- Run the unit and check tracking, noise, temperature, and synchronization.
The escalator handrail should move smoothly without abnormal noise, sharp vibration, or side movement. If it does not move at the same speed as the steps, do not use extra tension as the first solution. Excessive tension increases friction and shortens service life. Check the drive wheel, rollers, guides, and pressure system first.
After the initial run, check the surface temperature. Slight warmth can be normal, but a hot surface suggests excessive friction, incorrect adjustment, or damaged related parts. Stop the escalator if the handrail becomes too hot to touch.
For installation support, send POTENSI the handrail model and photos of the drive, guide, and tension areas. Clear information helps our team provide more useful technical guidance.
Escalator Handrail Cleaning and Maintenance
Regular escalator handrail cleaning removes dirt, oil, and excess anti-aging wax from the surface. Use a neutral household detergent and follow these steps:
- Apply a small amount of neutral detergent to a clean cloth or spray it lightly onto the handrail.
- Wipe the complete outer surface and accessible underside evenly.
- Remove detergent residue with a clean damp cloth.
- Dry the surface with a clean, dry cloth.
- For stubborn dirt, use a soft nylon cleaning pad with light pressure.
Do not use strong acids, alkalis, aggressive solvents, or sharp cleaning tools. Heavy scrubbing can damage the surface. Before cleaning the belt, remove dust and debris from the guide area so the clean surface is not contaminated again.
Maintenance teams should also check for cracks, exposed reinforcement, damaged edges, glazing, unusual heat, joint separation, and uneven movement. Record any change and correct the cause before the damage becomes serious.
Transport and Storage
Proper storage prevents deformation before installation:
- Protect the packaging from damage, rain, and direct sunlight.
- Keep the handrail flat and avoid stacking multiple belts directly on top of each other.
- Keep it away from oil, acids, alkalis, and sharp objects.
- Store it in a clean environment at 15°C to 35°C and 60% to 80% relative humidity.
- Avoid unnecessary long-term storage because a tightly coiled belt can become difficult to adjust.
During transport, use suitable packaging for the handrail length and weight. Do not bend the coil sharply or place heavy objects on it.
Common Problems and Checks
The Handrail Runs Slower Than the Steps
Possible causes include insufficient drive friction, worn pressure rollers, incorrect tension, or contamination on the drive surface. Check the system before adjusting tension.
The Surface Becomes Hot
Possible causes include excessive tension, damaged guide or support rollers, poor alignment, or high friction in the guide system. Stop the unit if the surface becomes too hot to touch.
The Surface Has Marks or Discoloration
Pressure marks can come from the pressing system. Discoloration can result from slipping, friction, contamination, or unsuitable cleaning chemicals.
The Edges Fray
Fraying may be related to the sliding layer, damaged guides, poor tracking, or contact with sharp parts. Inspect the full guide path.
The Joint Starts to Separate
Stop using the escalator and inspect the splice. Joint separation may result from incorrect splicing, poor alignment, unsuitable operating conditions, or related mechanical problems.

Final Checks Before Placing an Order
Before approving production, check the supplier's confirmation document against your maintenance record and measurements. Make sure the following items are written clearly:
- Exact handrail profile and cross-section dimensions
- Finished loop length and acceptable tolerance
- Cover material and color
- Inner sliding layer
- Indoor or outdoor application
- Joint construction and delivery form
- Quantity, packaging, delivery time, and warranty terms
Ask the escalator handrail manufacturer to provide a cross-section drawing or specification sheet. If the old belt is badly worn, compare several measurements rather than relying on one point. Keep the approved drawing and order record for future replacement work.
When comparing options, do not choose only by escalator handrail price. A low-priced belt with the wrong profile or unsuitable sliding layer can create installation problems and extra downtime. Compatibility, joint quality, technical confirmation, and supplier support should be checked before price comparison.
Send POTENSI your measurements and photos before placing the order. We can help review the specification and point out missing information before production.
Frequently Asked Questions
Can a PU Handrail Replace a Rubber Handrail?
It may be possible when the profile, dimensions, guide system, drive conditions, and application requirements match. Material alone does not determine compatibility. Confirm the specification with the escalator handrail manufacturer before ordering.
How Long Does an Escalator Handrail Last?
Service life depends on passenger traffic, drive condition, tension, alignment, cleaning, environment, and maintenance. There is no single service-life figure for every installation.
Should Both Sides Be Replaced Together?
It is not always required. However, replacing both sides together can provide a more consistent appearance and operating condition when both belts have similar age and wear.
What Affects Escalator Handrail Price?
Escalator handrail price varies by profile, material, color, length, quantity, joint construction, and indoor or outdoor application. Send the full specification to receive an accurate current price.
How Do I Compare Suppliers?
When comparing escalator handrail manufacturers and escalator handrails suppliers, check model-matching ability, material options, dimension drawings, joint quality, testing, warranty terms, technical support, and delivery time. A reliable escalator handrail company should confirm compatibility before production rather than asking you to select a model from appearance alone.
Conclusion
The escalator handrail affects passenger support, operating comfort, and the appearance of the whole escalator. Correct selection starts with the profile and dimensions, followed by material, length, joint construction, and application environment. Proper installation, adjustment, and cleaning then help the product perform as intended.
POTENSI is an experienced elevator and escalator parts supplier. We supply rubber and polyurethane handrails in common profiles and help customers check models, dimensions, materials, sliding layers, and joint requirements before production. If you plan to purchase an escalator handrail, send us the escalator brand, model, measurements, photos, application, color, and quantity. Contact POTENSI to confirm a suitable specification and receive a current quotation.
Escalator Handrail Replacement: When to Repair or Replace
Elevator Buttons: Types, Functions, Materials, and Buying Guide
Related Article
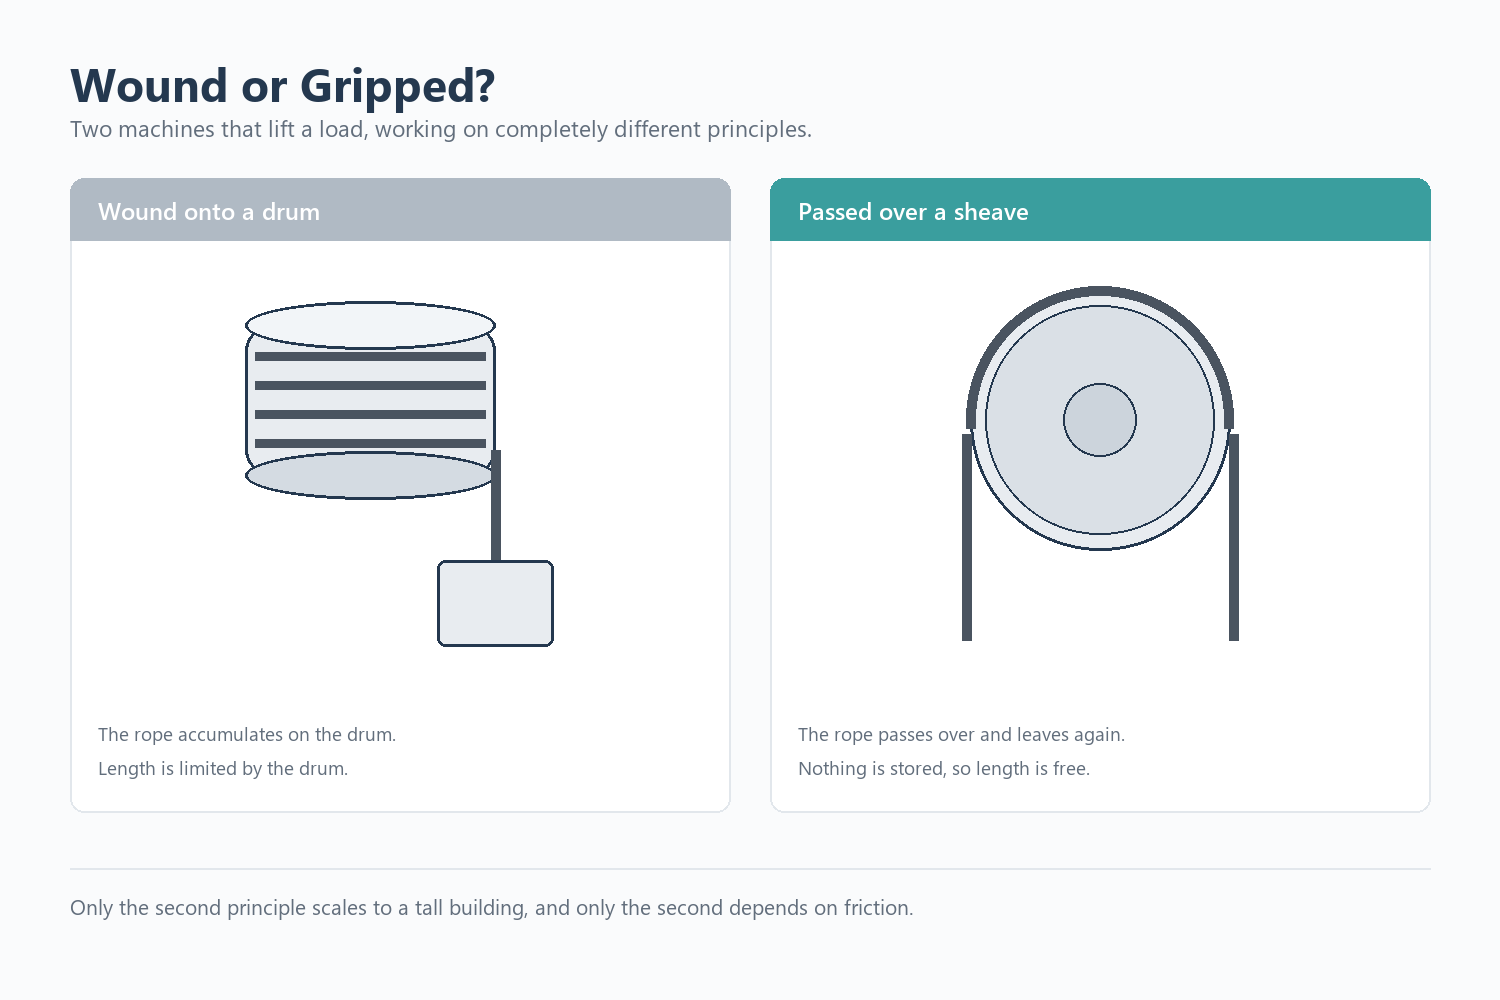
A traction machine does not wind the ropes onto a drum. It grips them.